Jump to content

Photo

Smorgasbord V3


  • Please log in to reply
89 replies to this topic

#1 Godblade75

Godblade75

    Veteran

  • Members
  • PipPipPip
  • 2,417 posts

Posted 05 May 2012 - 13:46

So, AA's thread really died off towards the end there. :( For all the newcomers, the idea is simple.

Over a series of 7 edits, a blank canvas will go from blank, to divine. The person completing step 7 will add "Smorgasbord" for text, and everyone who participated will be allowed to wear it. When completing their step, step 7, they will also provide a blank canvas, essentially starting the new smorgasbord at step 0. Get it?

All posts must be saved png format, by the way. Each artist, from step 1-7, will add a little bit to the graphic, such as a render, stock, or brushing. However, putting a whole new image on top of the canvas is not permitted, as it will essentially void what the previous artists have done. Finally, please make sure to say that you are doing a step, such as to avoid double posting. Oh, and once you've worked on the piece, you can't work on the same piece again.

I think that's it. Have fun!
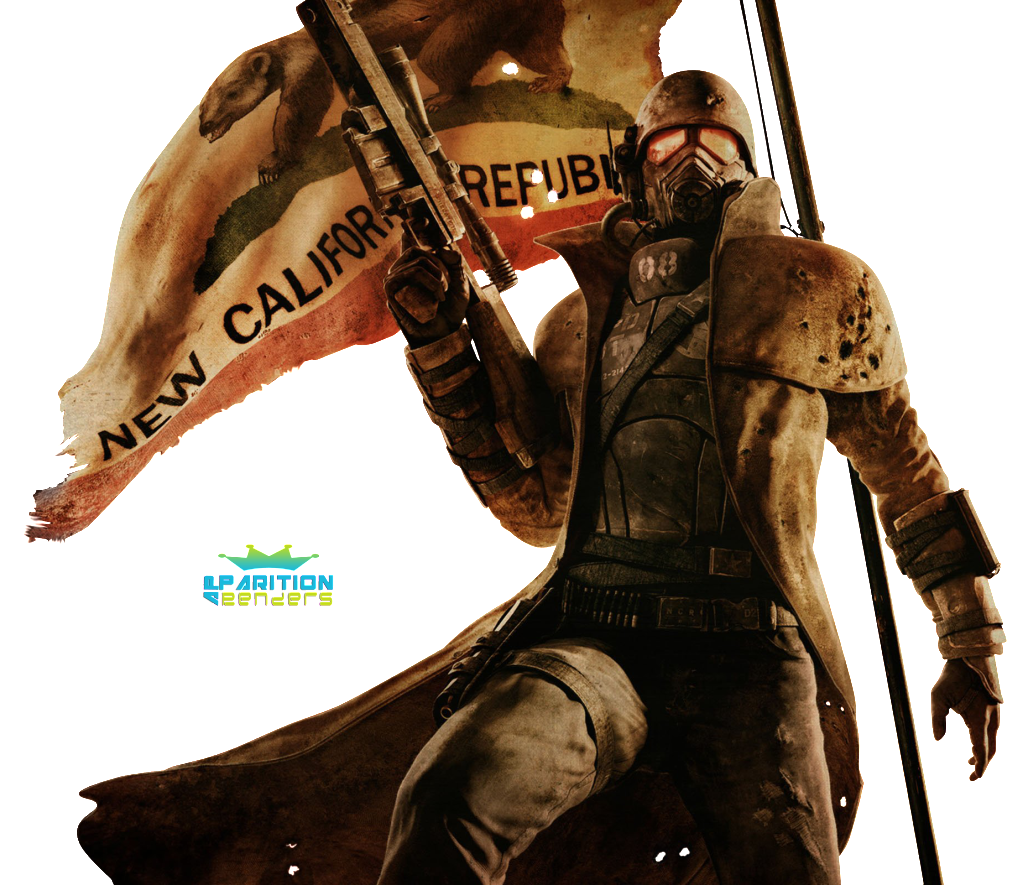
Step 0:

http://i1191.photobu...resourcecom.png

Just put it on a canvas and throw on a background, next person.

godblade.png


#2 aa0007

aa0007

    Veteran

  • New Members
  • PipPipPip
  • 4,379 posts
  • United States of America

Posted 05 May 2012 - 18:24

Gonna break the rules:

PSD: http://www.mediafire...a2b799ar140bbjt

Posted Image

I threw a background of a cityscape on there, rotated a little and resized. Added a small gradient map to both the render and the bg to get the colors to match a little better. I also rendered out the flag, to make space for the bg. Smudged the render a few times and erased as needed. Check out the PSD if you're interested :)

#3 Chagryn

Chagryn

    Veteran

  • Members
  • PipPipPip
  • 995 posts
  • Badge

Posted 05 May 2012 - 20:00

Posted Image

*Changed colors slightly
*Added linear dodge splatter effects and some brush work
*lightened and darkened bullet damage on right shoulder to make them stand out just a little more.
*Blurred around image to reduce the "White" render lines encircling the render.

Next

BrandSig_zpsf2e5098b.png

So who wants to buy me Zombie Brand on League of Legends? 


#4 WarQueen

WarQueen

    Veteran

  • Members
  • PipPipPip
  • 2,185 posts
  • Badge

Posted 05 May 2012 - 20:06

Posted Image

~ sharpened focal and blurred background to give a bit more depth ~
~ green-orange-purple gradient on softlight at 50% to enhance a bit of color ~
~ clipping mask to right side to scatter the splotch a little bit ~

Next

WarQueenSig1_zpsfe2b03d4.png


#5 Tolden

Tolden

    Member

  • Members
  • PipPip
  • 313 posts
  • Brazil

Posted 05 May 2012 - 21:02

Posted Image

- Added some splater clipping masks with c4d effect
- Added some grunge clipping masks with c4d effect
- Added a High-pass in overlay 60% opacity and 80% Fill

Next
:mrgreen: :mrgreen:

ps.: I didnt like what I do
-.-

resercher_by_tiokiller-d4nd8dy.png


#6 Wesleysdf

Wesleysdf

    Veteran

  • Members
  • PipPipPip
  • 4,011 posts

Posted 05 May 2012 - 22:25

next step was mine till I spend several minutes working on it and in the end the program just closed ¬¬"

just an advice, dont use the new beta version of gimp

#7 Godblade75

Godblade75

    Veteran

  • Members
  • PipPipPip
  • 2,417 posts

Posted 05 May 2012 - 22:51

WESSsSSSSS! :D How's it going?

godblade.png


#8 Wesleysdf

Wesleysdf

    Veteran

  • Members
  • PipPipPip
  • 4,011 posts

Posted 05 May 2012 - 23:40

hey man, long time no see =D
Im fine, thinking in start messing around with graphics again but first I need to format my notebook

#9 aa0007

aa0007

    Veteran

  • New Members
  • PipPipPip
  • 4,379 posts
  • United States of America

Posted 06 May 2012 - 00:56

hey man, long time no see =D
Im fine, thinking in start messing around with graphics again but first I need to format my notebook


you make avis on paper? :D

#10 Wesleysdf

Wesleysdf

    Veteran

  • Members
  • PipPipPip
  • 4,011 posts

Posted 06 May 2012 - 00:59

nope :P

#11 Sinio

Sinio

    Veteran

  • Members
  • PipPipPip
  • 3,264 posts

Posted 06 May 2012 - 01:03

Posted Image

- Blurred background a bit, for depth.
- Added gradient maps.
- Added lighting.

Skip mine if you wish, first time I open PS in a while.

beastboy2_zpsb4d2fdc4.png


#12 Tolden

Tolden

    Member

  • Members
  • PipPip
  • 313 posts
  • Brazil

Posted 06 May 2012 - 05:38

Posted Image

- Added lighting effects in overlay with 40% opacity and fill
- Added some soft brushes in Linear dodge with 20% opacity and 100% fill
- Added some gradient maps, old style and photofilter sepia

resercher_by_tiokiller-d4nd8dy.png


#13 Sinio

Sinio

    Veteran

  • Members
  • PipPipPip
  • 3,264 posts

Posted 06 May 2012 - 06:06

Hmm, not sure if you can have two steps on the same piece. But doesn't matter, you made it look better.. ^_^

beastboy2_zpsb4d2fdc4.png


#14 aa0007

aa0007

    Veteran

  • New Members
  • PipPipPip
  • 4,379 posts
  • United States of America

Posted 06 May 2012 - 06:25

Hmm, not sure if you can have two steps on the same piece. But doesn't matter, you made it look better.. ^_^


Due to the risk of lack of participation, I'd say multiple times in 1 smorgasbord is fine, as long as there is at least 1 person between your entries.

#15 Sinio

Sinio

    Veteran

  • Members
  • PipPipPip
  • 3,264 posts

Posted 07 May 2012 - 09:56

Posted Image

Sorry for ruining it again. I just had spare time. ._.

New Render:
http://i35.tinypic.com/vnh7bo.jpg

beastboy2_zpsb4d2fdc4.png


#16 fs_narael

fs_narael
  • Guests

Posted 07 May 2012 - 13:23

Step 1:
Posted Image

-rendered and slightly darkened image (also, repositioned her naginata arm to fit better in the sig)
-added and blurred for some depth a japanese temple backbround
-smudged and blended a bit (only a bit, others can certainly do better than me XD) the render with the background

[edit : on retrospect i should have kept the naginata a bit lighter...?]

#17 aa0007

aa0007

    Veteran

  • New Members
  • PipPipPip
  • 4,379 posts
  • United States of America

Posted 08 May 2012 - 02:29

Step 1:
Posted Image

-rendered and slightly darkened image (also, repositioned her naginata arm to fit better in the sig)
-added and blurred for some depth a japanese temple backbround
-smudged and blended a bit (only a bit, others can certainly do better than me XD) the render with the background

[edit : on retrospect i should have kept the naginata a bit lighter...?]


Couple tips on smudging and blurring - at least, this is how I do it.

Start off by duplicating your layer a few times, and smudge the crap out of your bottommost layer. This will start to get the colors around your render blended into the BG while making a smooth transition towards the render. Then, you want to smudge only the edges of the next layer. Finally, use a small soft brush to erase parts of the next render that you want to blend into the bg - this way, you're not actually smudging it. If you're pro enough, I'd recommend using masks, in case you mess up.

For blurring and sharpening, I'd generally save that for the end. What you can do is finish your sig for the most part, and then paste your render over the entire sig (on a new layer). Then erase parts you don't want to sharpen ... and sharpen what's left. To get color correct, apply an image of everything but your sharpened render, and set that to color as a clipping mask. Same technique for blurring. Enjoy :)

#18 aa0007

aa0007

    Veteran

  • New Members
  • PipPipPip
  • 4,379 posts
  • United States of America

Posted 08 May 2012 - 02:29

Posted Image

Sorry for ruining it again. I just had spare time. ._.

New Render:
http://i35.tinypic.com/vnh7bo.jpg


Actually, I quite like it. Nice job guys, lets keep up the good work! :D

And next text should be smorgasm. Just cause.

#19 Chagryn

Chagryn

    Veteran

  • Members
  • PipPipPip
  • 995 posts
  • Badge

Posted 08 May 2012 - 02:52

Posted Image

Sorry for ruining it again. I just had spare time. ._.

New Render:
http://i35.tinypic.com/vnh7bo.jpg


Actually, I quite like it. Nice job guys, lets keep up the good work! :D

And next text should be smorgasm. Just cause.


Just an idea. Maybe we can auction off what we finish here and donate the money to GGT fund. Its obvious the pieces are going to look good. Maybe wait till we have a few then put a 10 FSP BIN on them and a min bid of 5 FSP. Just a short idea :)

BrandSig_zpsf2e5098b.png

So who wants to buy me Zombie Brand on League of Legends? 


#20 TreeFrog

TreeFrog

    Veteran

  • Members
  • PipPipPip
  • 2,739 posts
  • Badge

Posted 08 May 2012 - 02:57

Generally we have a massive auction before the GGT where all participating artist donate pieces to be sold, but these could be part of it. It makes up a large chunk of the prize fund.


0 user(s) are reading this topic

0 members, 0 guests, 0 anonymous users

Font:
Arial | Calibri | Lucida Console | Verdana
 
Font Size:
9px | 10px | 11px | 12px | 10pt | 12pt
 
Color: