Jump to content

Photo

Yahtzeee's Avatar Making Tutorial


  • Please log in to reply
3 replies to this topic

Poll: Yahtzeee's Avatar Making Tutorial (5 member(s) have cast votes)

Did you find this helpful ?

  1. Yes :) (4 votes [80.00%])

    Percentage of vote: 80.00%

  2. No :'( (1 votes [20.00%])

    Percentage of vote: 20.00%

Vote Guests cannot vote

#1 Yahtzeee

Yahtzeee

    Member

  • New Members
  • PipPip
  • 63 posts

Posted 27 September 2013 - 11:24

Firstly, please noted that English isn't my native language, so i apologize for any grammar mistake that i made :)
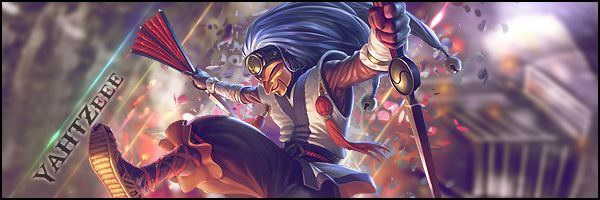
 

Final Outcome
Finish_zpsb71462a2.jpg

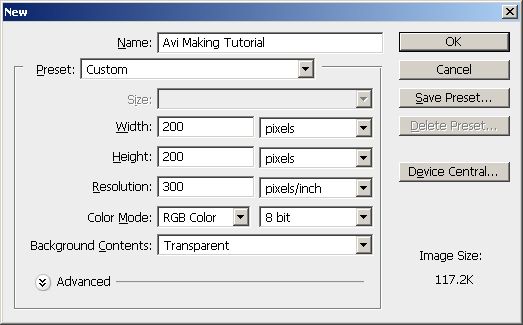
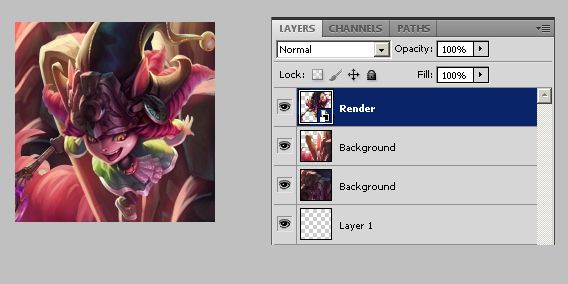
so, start off by opening your document

as always, use 200px for both width and height and 300 for resolution for high quality image.

1_zps066cffb2.jpg
 
add your render and duplicate it three (3) times and hide the top layer simply by clicking the "eye" beside the
layer..
we gonna make the background, just move the bottom layer and middle layer until you get a nice colour
using your render as a background make the render and the background blend nicely
2_zps10ce63b8.jpg
3_zps2020ba7b.jpg
 
unhide your top layer and convert it to smart object by right-Click the layer and select convert to smart object
and resize it ( Ctrl + T) to fit your document
after you've done resizing it, sharpen the layer ( Filter > Sharpen > Sharpen) and rasterize it by right-click the layer
and select rasterize layer
4_zps86d4906d.jpg
 
we going to play with blending option now
select your render layer, and again right-click it and select Blending Option
and use the same preference that i use like in the image below
5_zps71591f35.jpg
 
change the brightness a bit
6_zps17ec5889.jpg
 
after we've done that, we gonna put some light effect on it, ussually i will put some light flare and some nebula on the
layer, i also like to out some fire spark effect on it
Light Flare
Example2_zpsa38180eb.png
Nebula Example3_zps2b2f67d6.jpg
Fire Spark Example_zps8012c91a.jpg
 
im going to use the fire spark first...add the fire spark layer and change the blend mode to Screen
resize it and put it on the the place you like
remember to erase the the hard edge on the screen layer, use low opacity eraser for that
7_zpsa757e57c.jpg

71_zpsf7ed7cc2.jpg


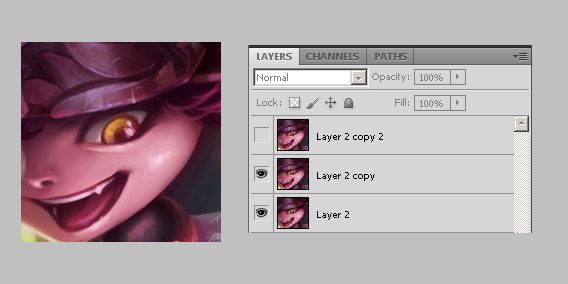
duplicate the fire spark layer and change to location of those layer

you should get something like this

8_zps712f8b39.jpg


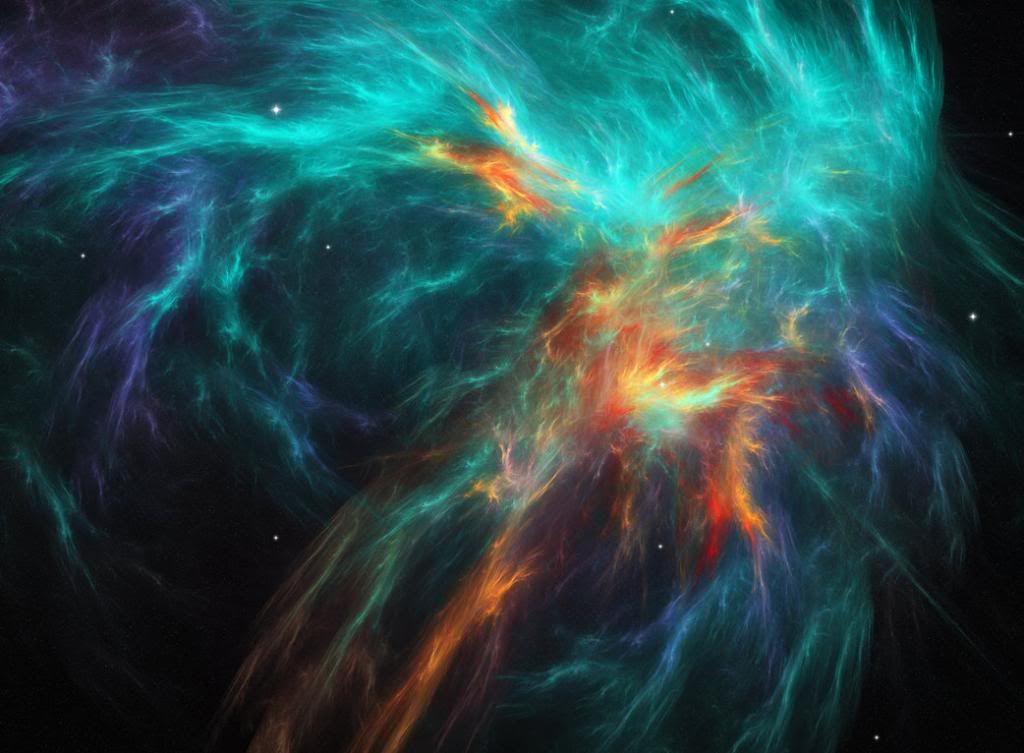
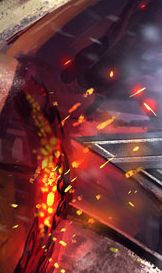
ok, done for the fire spark effect...now for the nebula effect

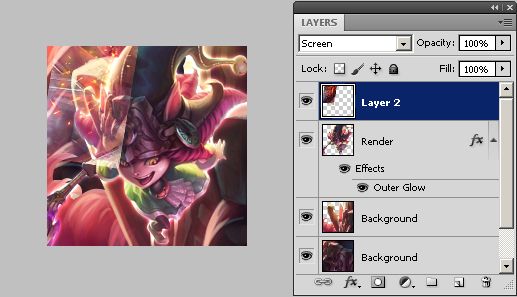
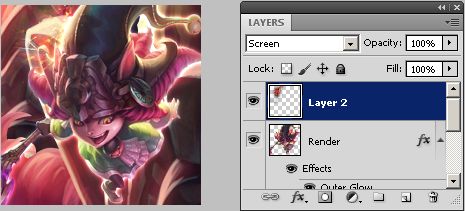
as always, add the nebula layer and change the blend mode to screen

and put it below your render. dont forget to resize it

resize it and place it on your desired location

and just like before, erase all the hard edge

9_zps56352381.jpg


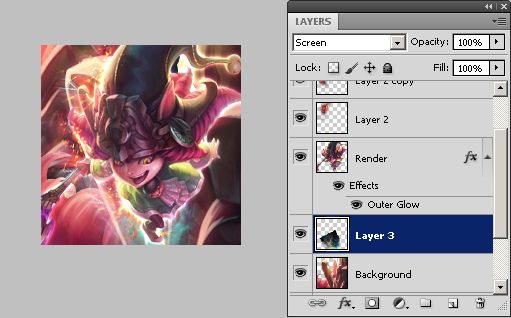
and the last effect...the light flare

add the light flare layer to your document

change the blend more the screen and place it below the nebula effect

resize it and place it on your desired location and erase the hard edge.. . . . . . . =='

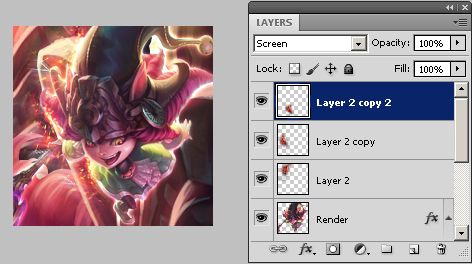
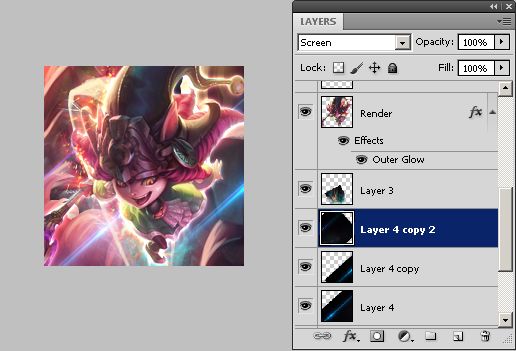
duplicate it three (3) time and change the loc

light_zps27b872f7.jpg


ahhh, finally the light effect is done....and now for the final phase ! XD

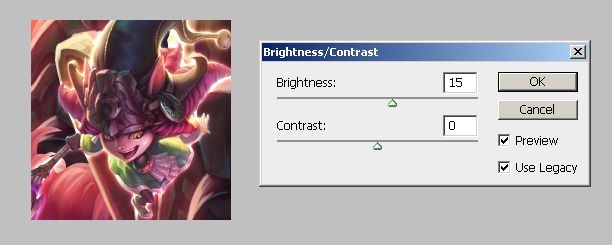
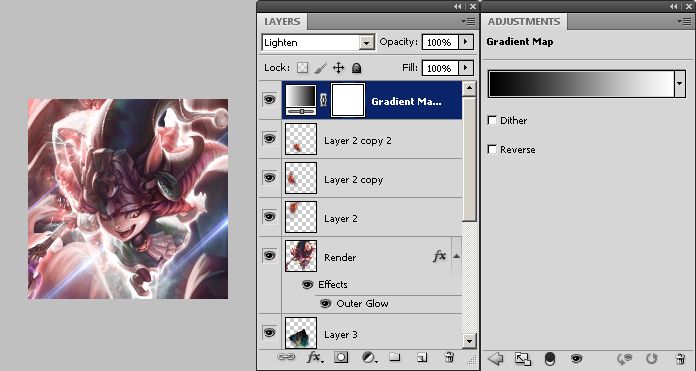
the adjustment phase

start off by making a gradient layer above all of those layer ( Layer > New Adjustment Layer > Gradient Map )

choose the black/white gradient first and change the blend mode to Lighten

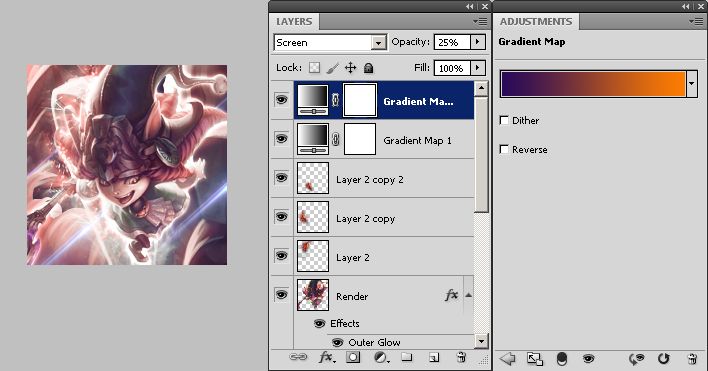
after that make another gradient map and this time...use the deep blue/orange one

change the blend mode to Screen and the layer opacity to 25%

10_zps963c79a9.jpg

11_zps231c6f48.jpg


andddd we're FINISH !!!!


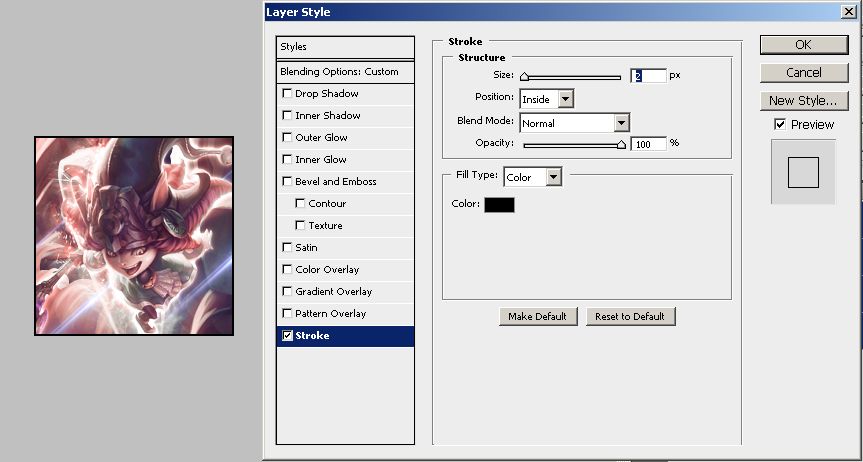
ohh, wait ._. if you prefer a border

make a new layer on top of all layer including the gradient map layer we just did before

paint it with black and set the Fill to 0%

right click it and select blend mode, tick Stroke..

simply copy my preference :)

12_zps2e2ff834.jpg


andddd...we're done....at last XD


damn @@, forgot to put my name on the avi T_T

do i need to teach even that ? --'


and we're done, this time...for sure XD
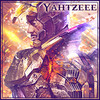
 

Finish

Finish_zpsb71462a2.jpg


Edited by Yahtzeee, 27 September 2013 - 11:29.

SIG_zps793f2afa.jpg

Sig made by me XD


#2 jzaz

jzaz

    Veteran

  • Members
  • PipPipPip
  • 659 posts
  • Badge

Posted 28 September 2013 - 15:53

Bump, nice tutorial :)

Thank you for taking your time to make this. Very nice of you.


#3 Yahtzeee

Yahtzeee

    Member

  • New Members
  • PipPip
  • 63 posts

Posted 28 September 2013 - 17:02

yeah..had to make it since last time  people make a tutorial was 5 years ago =='


SIG_zps793f2afa.jpg

Sig made by me XD


#4 artistgorn

artistgorn

    Veteran

  • Members
  • PipPipPip
  • 695 posts

Posted 28 September 2013 - 17:14

You should do it as one image. Will be better to do that


Sxr2pU.png


1 user(s) are reading this topic

0 members, 1 guests, 0 anonymous users

Font:
Arial | Calibri | Lucida Console | Verdana
 
Font Size:
9px | 10px | 11px | 12px | 10pt | 12pt
 
Color: